Everything You Need to Know About EV Charger Installation
As electric vehicles (EVs) continue to surge in popularity, the demand for reliable and efficient EV charger installation is growing faster than ever. Whether you’re a homeowner looking to charge your vehicle overnight or a business owner hoping to offer charging services to customers, understanding the installation process, equipment types, costs, and electrical requirements is essential.
This comprehensive guide will walk you through the essentials of EV charger installation so that you can make informed decisions and avoid costly mistakes.
1. Why Install an EV Charger at Home?
Owning an EV without a dedicated charger at home is a bit like owning a smartphone without a wall charger — technically possible, but not ideal. Relying solely on public charging stations can be inconvenient and time-consuming. Installing your own EV charger provides:
- Convenience: Charge overnight or whenever it’s parked.
- Time savings: No need to drive to public stations.
- Cost efficiency: Home electricity rates are generally lower than public charging fees.
- Increased home value: EV infrastructure is an appealing feature for future homebuyers.
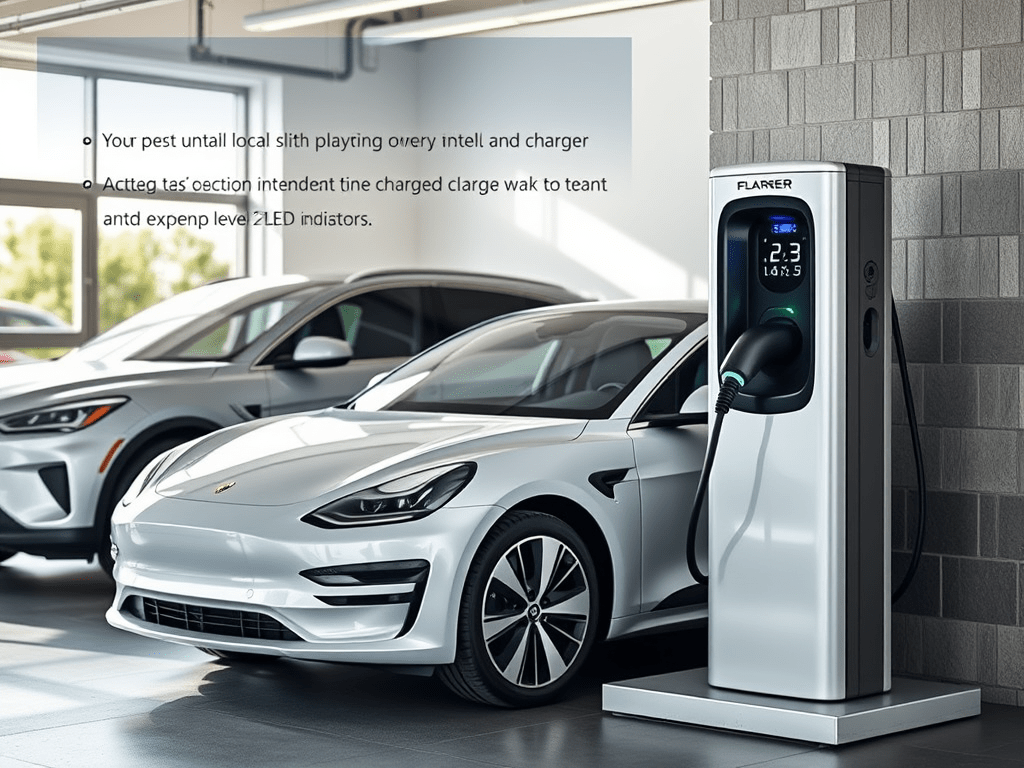
2. Types of EV Chargers
Before installation, it’s crucial to understand the types of chargers available. There are three main levels:
- Level 1 Charger
- Uses a standard 120V household outlet
- Charging speed: 3–5 miles of range per hour
- Best suited for very low mileage drivers
- Level 2 Charger
- Uses a 240V outlet (like electric dryers or ovens)
- Charging speed: 10–60 miles of range per hour
- Ideal for daily use and most home installations
- Level 3 Charger (DC Fast Charging)
- Requires commercial-grade equipment and a 480V connection
- Charging speed: 60–100+ miles of range in 20 minutes
- Typically used in commercial or public charging stations, not residential setups
3. What’s Involved in EV Charger Installation?
Installing a Level 2 EV charger involves more than just plugging in a device. Here’s a step-by-step look at what typically happens:
Step 1: Assess Your Electrical Panel
Your home’s electrical panel must support the added load of a 240V circuit. An electrician will evaluate whether your panel has available space and sufficient capacity (usually 40–60 amps) to safely handle the charger.
Step 2: Choose a Charging Unit
There are dozens of EV charger brands on the market, such as ChargePoint, JuiceBox, or Wallbox. Look for features like Wi-Fi connectivity, smartphone apps, adjustable amperage, and UL certification.
Step 3: Plan the Installation Site
Most installations happen in a garage or a carport. Wall-mounted units near where you park your vehicle are preferred. If no nearby wall is available, a pedestal mount is an option.
Step 4: Get Necessary Permits
Depending on your local regulations, you may need a permit from your municipality. Some jurisdictions also require an inspection after installation.
Step 5: Schedule the Installation
A licensed electrician installs the charger, runs the necessary wiring, installs a breaker if needed, and ensures everything meets the National Electrical Code (NEC).
4. EV Charger Installation Cost Breakdown
EV charger installation costs can vary widely depending on several factors:
- Charger unit cost: $400–$1,200 depending on brand and features
- Installation labor: $300–$1,000 or more depending on complexity
- Panel upgrades (if needed): $1,000–$3,000
- Permits and inspection fees: $100–$500
In total, homeowners typically spend between $800 to $2,500 for a complete Level 2 EV charger setup. Keep in mind that incentives and rebates may be available through local utilities or federal tax credits.
5. Rebates and Incentives
Various states, cities, and utility companies offer rebates to offset the cost of EV charger installations. Some examples include:
- Federal EV charger tax credit: Offers up to 30% off installation costs, up to $1,000
- Utility company rebates: Some power companies offer $200–$1,000 in rebates for installing a home charger
- State incentives: States like California and New York provide grants and discounts on hardware and installation
Before you begin the installation process, check with your utility provider and local government for available programs.
6. EV Charger Installation for Businesses
Installing EV chargers at commercial properties offers numerous benefits:
- Attract customers: Shoppers are more likely to visit businesses where they can charge their vehicles.
- Boost employee satisfaction: Employees with EVs appreciate workplace charging.
- Support sustainability goals: EV infrastructure supports green initiatives and can enhance corporate image.
For businesses, it’s crucial to assess the parking layout, choose the right number of charging stations, and ensure ADA compliance for accessible installations.
7. Choosing the Right Electrical Contractor
Because EV charger installation involves high-voltage systems and must meet local and national codes, hiring a licensed and experienced electrician is essential. Look for contractors who:
- Have specific experience with EV installations
- Understand your local permitting process
- Can guide you in selecting the right charger
- Offer warranty and post-installation support
Getting multiple quotes and reading reviews can help you select a qualified professional.
8. Final Thoughts
Installing an EV charger at home or in a commercial location is one of the smartest investments you can make if you’re part of the electric vehicle future. It ensures convenience, adds value to your property, and supports a greener environment.
Whether you’re just starting your EV journey or upgrading your charging options, understanding the installation process will save you time, money, and frustration. Make sure to work with a licensed electrician and explore all available rebates and incentives before you start.
